
What Is Gain Staging, And How Does It Affect Recording?
If you are new to audio production, you might have heard the term “gain staging” and wondered what it means and why it is important. In this blog post, we will explain what gain staging is, how it works in analog and digital environments, and how to do it properly in your DAW. (DAW stands forDigital Audio Workstation.)
What is gain staging?
Gain staging is the process of making sure the audio is set to an optimal level for the next processor in the chain in order to minimize noise and distortion. By gain staging through your analog and digital systems, you can achieve the best possible sound for your recording.
Gain staging in analog vs. digital
Analog and digital gain staging are two practices that have similar beginnings, but differ quite a bit under examination.
Analog gear has physical limits above which a signal will incur audible distortion. The distortion can sometimes sound round, even pleasant in small doses. We keep this distortion in mind when setting the levels of analog processors, making sure we preserve enough room before the point of distortion. We call this room “headroom”.
Headroom is how much room your audio signal has before it starts to get compressed and distorted. Every recording medium has a finite amount of headroom. If you try to record a signal that’s louder than what the medium is capable of handling, it will clip the tops of the waveform and you’ll hear that as distortion.
Another factor to consider in analog recording is the noise floor. The noise floor is the inherent noise of the signal path, including the recording medium (in a purely analog system this would be magnetic tape). The goal was to keep your signal as high above the noise floor as possible to maximize your signal-to-noise ratio. This meant that quieter passages wouldn’t be obscured by a bunch of hisses and other undesirable noise.
The only problem with trying to keep your signal high above the noise floor is that you ran into the other issue— headroom. Engineers would try and find the best balance point between noise at the bottom and distortion at the top, which is ultimately what gain staging is all about.
Digital audio, on the other hand, gets rid of a lot of these gain structure issues. The noise floor is no longer really a concern in most modern DAWs as the level of system noise is so low that it doesn’t really impact the signal at all.
However, digital audio has a limit all its own—a ceiling we call 0 dBFS. Above this level, we can get hard digital clipping, characterized by squaring off a waveform. We often try to avoid this distortion, though some engineers like to court just a little of it from time to time to get a certain kind of aggression.
Digital clipping is different from analog saturation in that it is not gradual or soft. It is abrupt and harsh. It can also introduce unwanted artifacts such as aliasing, which is a form of distortion caused by sampling frequencies that are too low for the signal.
Therefore, when working with digital audio, we need to make sure we leave enough headroom below 0 dBFS to avoid clipping and preserve the quality of our audio.
How to gain stage your mix in an analog system
In an analog audio system, gain staging involves setting the input gain, output level and fader level of each device in your signal chain, such as microphones, preamps, compressors, equalizers, mixers and speakers. Here are some tips on how to gain stage your mix in an analog audio system:
Start with the source. Make sure your microphone or instrument is producing a strong and clean signal, without any unwanted noise or feedback. Adjust the position and orientation of the microphone or instrument if needed.
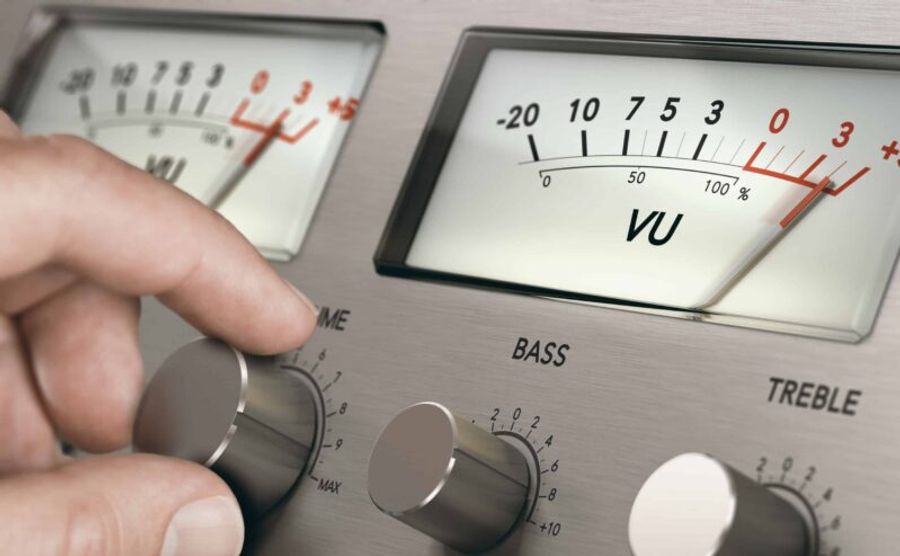
Set the input gain of your preamp or mixer. Use a VU meter or a peak meter to monitor the level of your signal. Aim for an average level of around -18 dBFS (decibels relative to full scale) on a VU meter, or -12 dBFS on a peak meter. This will leave enough headroom for peaks and transients, while maintaining a good SNR. Avoid going above 0 dBFS, as this will cause clipping and distortion.
Set the output level of your preamp or mixer. Use the same VU or peak meter as before to monitor the level of your signal. Adjust the output level knob or slider until you reach a similar level as the input gain. This will ensure that you are not losing or boosting any signal along the way.
Repeat the same process for any other devices in your signal chain, such as compressors, equalizers, effects processors, etc. Make sure to match the input and output levels of each device, and avoid clipping or overloading any stage.
Set the fader level of your mixer or speaker. Use the same VU or peak meter as before to monitor the level of your signal. Adjust the fader knob or slider until you reach a comfortable listening level. This will also affect the overall loudness and balance of your mix.
Check your final output level. Use a loudness meter or a peak meter to measure the level of your final output signal. Aim for an average loudness of around -14 LUFS (loudness units relative to full scale) for streaming platforms, or -9 LUFS for CD mastering. Avoid going above -1 dBTP (decibels true peak), as this will cause clipping and distortion.
How to gain stage your mix in a digital system
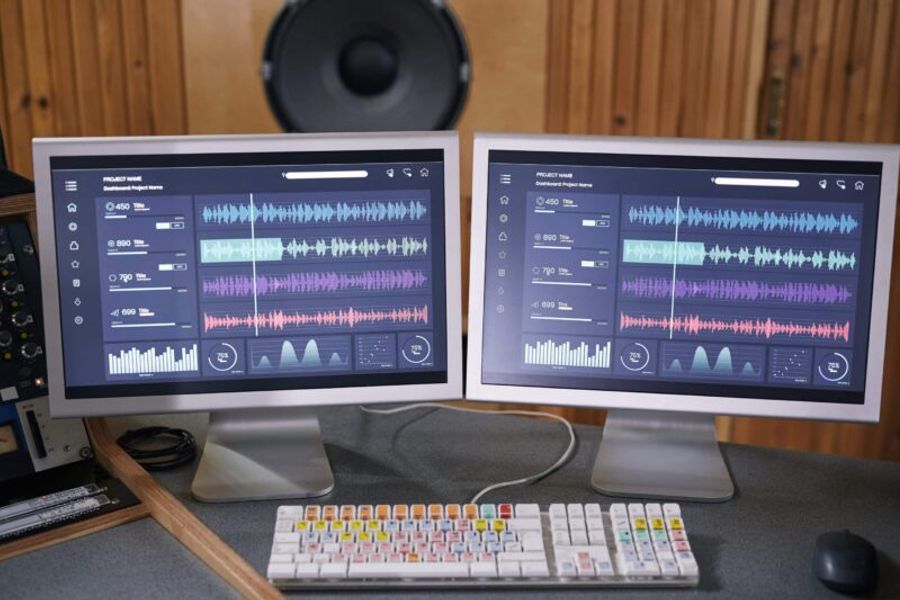
Gain staging your mix involves adjusting the level at each point of amplification to ensure an optimal signal-to-noise ratio, without unwanted distortion. Here are some steps you can follow to do it properly in your DAW:
Open your DAW’s mixer window.
Set all faders to 0 dBFS (unity gain)
Play a track and observe its level
Adjust the track’s level using its input gain knob or trim plugin until it peaks around -18 dBFS on average. This is a good reference level for most plugins and processors, as it gives them enough headroom to work with.
Repeat for all other tracks
Use your ears to confirm the levels sound balanced and clear
If you need to adjust the volume of a track later in the mixing process, use its fader or automation instead of its input gain knob or trim plugin. This way, you won’t mess up your gain staging.
Conclusion
By following these steps, you can ensure that your audio signals are at healthy levels throughout your mix, without compromising their quality or dynamics.
Gain staging is an essential skill for any audio engineer or producer who wants to achieve professional results. It might seem tedious or complicated at first, but once you get the hang of it, you’ll notice a big difference in how your mixes sound.
For more information on capturing great audio, please feel free tocontact us!